Rugby positions explained without the textbook vibe, just absolute clarity for first-time fans.
- Understanding the positions
- The simple way to understand rugby positions
- Forward positions in rugby: where the real work happens
- Back positions explained: speed, vision, and timing
- Do numbers represent positions in rugby?
- Why is the rugby ball oval-shaped?
- The best way to learn rugby positions as a beginner
Understanding the positions
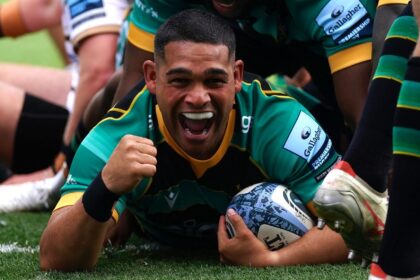
If you’ve ever watched a rugby match and thought, “I have no idea what half these players are actually doing,” you’re not alone. Many beginners need the rugby positions explained because they can quickly become confused.
Fifteen players, numbered jerseys that actually matter, and position names that sound strange until you see them in motion. The good news is this: once the structure clicks, rugby becomes one of the easiest sports to follow. Everything suddenly has logic.
Rugby isn’t random collisions and chaos. It’s organized intensity. Every player has a job, and every job fits into a larger system. Understanding rugby player positions is the moment the sport goes from overwhelming to addictive.
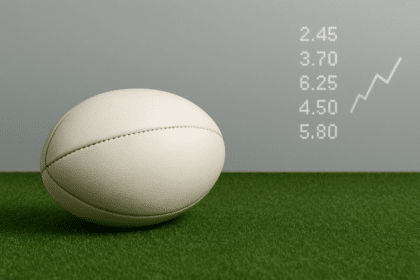
Even the ball itself plays a role in how positions function. The oval shape affects passing, kicking, and players’ positioning on the field. It doesn’t bounce cleanly, which rewards skill and awareness. A deeper look at rugby ball vs football shows how ball design influences tactics and why rugby relies so heavily on anticipation rather than predictability.
The simple way to understand rugby positions
The easiest way to approach rugby positions is to stop thinking about individual roles and start with groups. A rugby team is split into two main units: forwards and backs. Once you understand what each group is responsible for, everything else starts falling into place.
The forwards are about control. They win the ball, protect it, and grind the game forward. The backs are about opportunity. They take that possession and turn it into space, momentum, and points. Neither group works without the other, and that balance is what gives rugby its rhythm.
Forward positions in rugby: where the real work happens
When people talk about forward positions in rugby, they’re usually talking about physicality. These are the players living in contact. Scrums, tackles, rucks, and lineouts are their world.
The front row includes the two props and the hooker. Props are built for pure strength. Their job is to stabilize the scrum and absorb massive pressure. The hooker sits between them and plays a hands-on role in winning possession. It’s a position that requires strength, balance, and surprising skill.
Behind them are the locks, usually the tallest players on the team. They dominate lineouts and add serious power in scrums. Locks don’t always get the spotlight, but games are often won or lost on how well they control these set pieces.
Then you have the back row: two flankers and the number eight. These players are everywhere. They tackle nonstop, chase loose balls, support attacks, and disrupt opponents. If someone asks which rugby positions require the most strength, the front row might get the answer, but the back row probably covers the most ground.
Back positions explained: speed, vision, and timing
If the forwards build the platform, the backs decide what happens next. These rugby player positions are all about awareness and decision-making under pressure.
The scrum-half is the connector. They’re constantly talking, pointing, passing, and controlling the pace of the game. The fly-half is the strategist. This player decides whether the team kicks, runs, or spreads the ball wide. A calm fly-half can completely control a match.
Centers mix physicality with finesse. They break tackles, defend aggressively, and create space for others. Wingers are the finishers, usually the fastest players on the field, waiting for the right moment to explode down the sideline. The fullback plays deeper, reads the game, fields kicks, and launches counterattacks when space opens up.
Do numbers represent positions in rugby?
Yes, and this is one of rugby’s most underrated features. Jersey numbers directly match positions. A number 1 is always a prop. A number 10 is always a fly-half. Once you learn the numbers, you can glance at a player and instantly understand their role. It’s one of the reasons that once you get the positions in rugby explained, it becomes much easier to follow.
Why is the rugby ball oval-shaped?
This question comes up a lot, especially for beginners. Historically, early rugby balls were made from pig bladders, which naturally formed an oval shape. Over time, players realized this shape encouraged longer passes, creative kicks, and more dynamic movement. That evolution helped define modern rugby positions, particularly for backs who rely on timing and precision.
The best way to learn rugby positions as a beginner
Here’s the honest advice: don’t try to memorize everything. Pick one position during a match and follow that player for ten minutes. Watch where they stand, when they move, and how often they touch the ball. Do that for a few games, and patterns start to emerge naturally.
Rugby rewards patience. Once the roles become familiar, the sport reveals itself as fast, physical, and surprisingly strategic. Every position matters. Every decision has weight. And once rugby positions are explained, you’ll finally understand, and never watch the game the same way again.